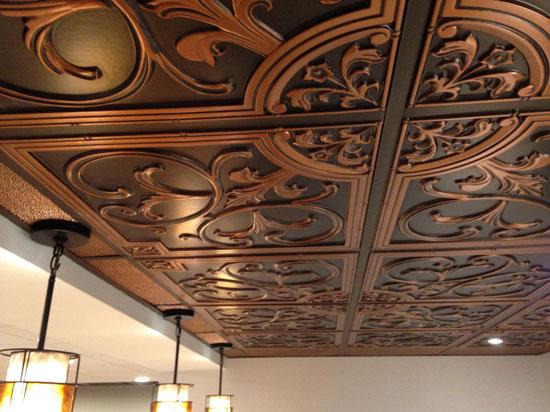
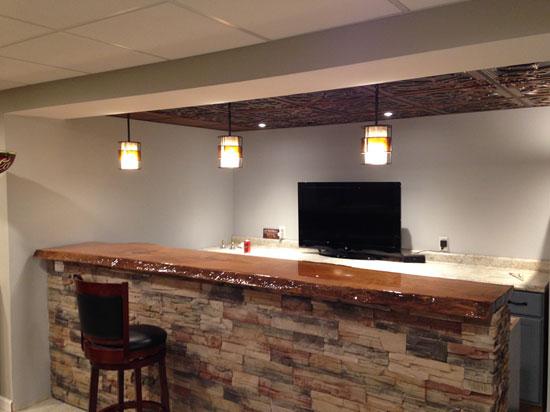
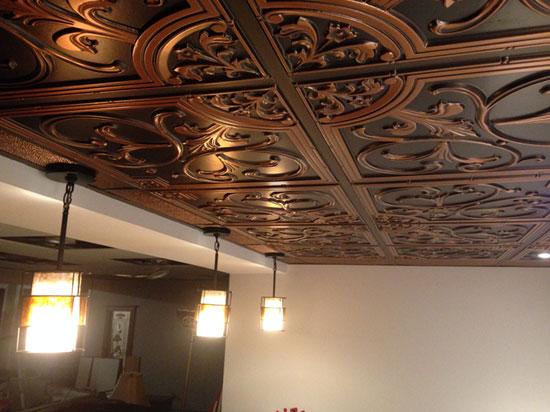
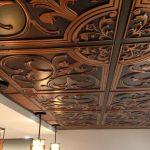
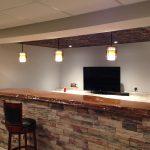
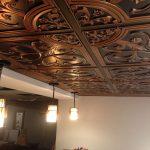
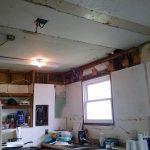
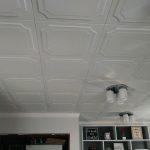
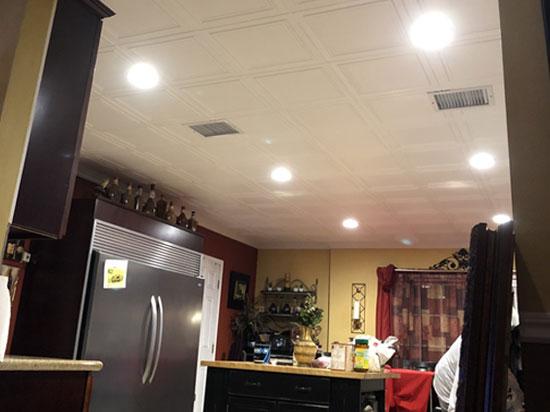
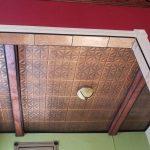
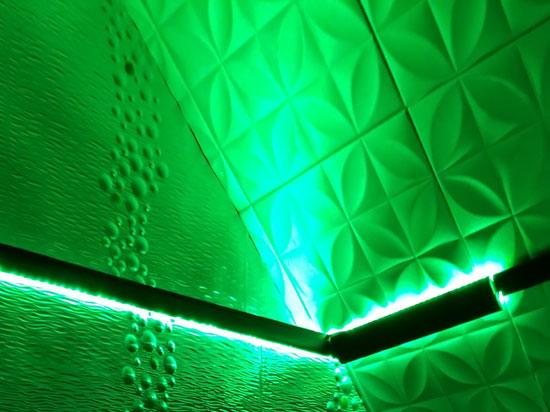
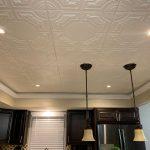
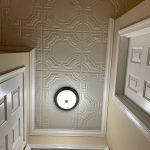
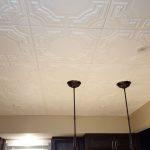
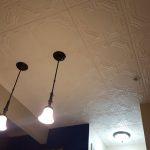
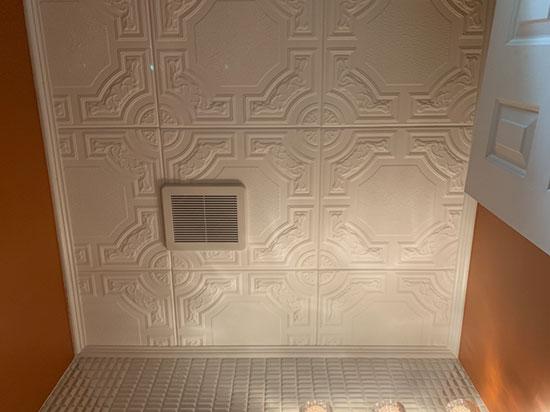
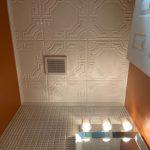
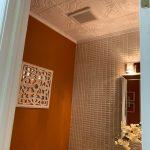
"We purchased these tiles because of the reviews on how easy they were to work with, and because they were simply beautiful. We were not disappointed on either issue. We painted the grid a matching color, and the tiles dropped right in. Where we had lighting, a standard tile installed behind the decorative one supported the weight of the fixture."- Jeff Stewart
Lilies and Swirls – Faux Tin Ceiling Tile – 24″x24″ – #204

| Application | : | Ceilings | ||
| Category | : | Basement / Man Cave | ||
| Size | : |
|
||
| Material | : | PVC | ||
| Color | : |
|
||
| Installation Method | : | |||
| Brand | : | Decoraids |
April 4, 2019
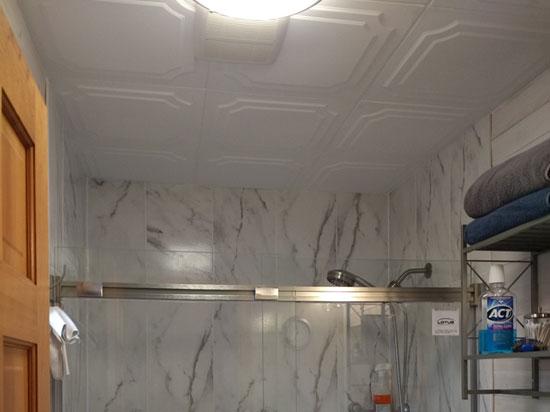
The Virginian – Styrofoam Ceiling Tile – 20″x20″ – #R08
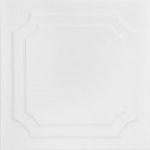
| Application | : | Ceilings | |
| Category | : | Bathroom | |
| Size | : |
|
|
| Material | : | Styrofoam | |
| Color | : |
|
|
| Installation Method | : | ||
| Brand | : | A La Maison Ceilings |
April 4, 2019
The Virginian – Styrofoam Ceiling Tile – 20″x20″ – #R08

| Application | : | Ceilings | |
| Category | : | Kitchen | |
| Size | : |
|
|
| Material | : | Styrofoam | |
| Color | : |
|
|
| Installation Method | : | ||
| Brand | : | A La Maison Ceilings |
April 4, 2019
Line Art – Styrofoam Ceiling Tile – 20″x20″ – #R 24
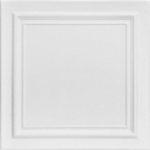
| Application | : | Ceilings | |
| Category | : | Kitchen | |
| Size | : |
|
|
| Material | : | Styrofoam | |
| Color | : |
|
|
| Installation Method | : | ||
| Brand | : | A La Maison Ceilings |
April 3, 2019
Perceptions Glue-up Styrofoam Ceiling Tile 20″x20″ – #R103

| Application | : | Ceilings | |
| Category | : | Living and Dining | |
| Size | : |
|
|
| Material | : | Styrofoam | |
| Color | : |
|
|
| Installation Method | : | ||
| Brand | : | A La Maison Ceilings |
April 3, 2019
DIY Foam Crown Molding – 3.5″ Wide 95.5″ Long – #CC 351

| Application | : | Crown Moldings | |
| Category | : | Living and Dining | |
| Size | : |
|
|
| Material | : | Styrofoam | |
| Color | : |
|
|
| Installation Method | : | ||
| Brand | : | Decorative Ceiling Tiles |
April 3, 2019
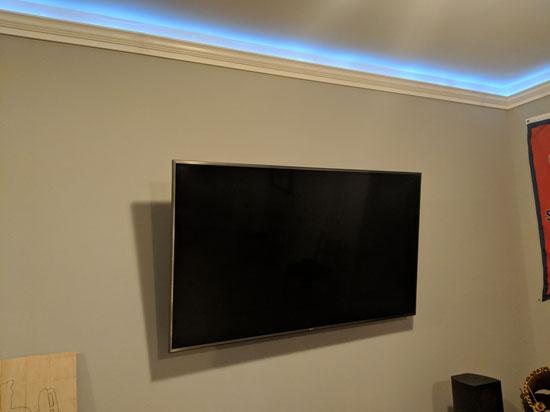
"I chose this product because it was easy for one or two people with minimal experience to install, and it has space for rope lights."
Tips: I started by putting a small dot at 3 inches below the ceiling, all the way around. I then used a 2-foot long level to connect those dots. Because a ceiling isn't going to be perfectly level all the way around, I compromised between the dots and being perfectly level. I then drew that line, and used it to apply reflective tape to the wall. I then used the tape as my guide to adhere the molding. The adhesive holds pretty much instantly, but it will sag a little bit as it dries. You'll want to frequently double check and make small adjustments back up to level as you go. Two people and ladders will make this a lot easier.
For the lighting: I used 1/2" cool white rope light. . You'll need to use a recessed outlet to fit the plug behind the molding. I also had to shave down the back of the molding to allow space for the cords. I recommend leaving a 1-foot section of molding that you don't use adhesive on to allow access to the plug.
Once it's plugged in and connected, I started laying the rope in the trough behind the molding. Wedge a small piece of wood between the light and the ceiling to hold it in place. I also recommend making sure the LED bulbs are all facing the same direction as you do this. The corners can be difficult. What I did was buy a 90 degree bracket for each corner and zip tie the rope light to it, so it holds that shape.
Once it's all the way around, go around again in small sections at a time, and make sure the light lays completely flat. I then adhered the rope light to the molding to hold it flat and in the upright position. As you do this in sections, get down from the ladder and look at it from a distance to make sure the light is pointed exactly in the same direction all the way around so it looks uniform.
I caulked the seams and painted over them for the final finish.
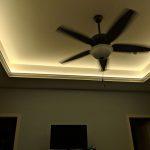
In the attached pictures, you can see what it looks like with the main room lights on or off. The rope light provides plenty of light, but isn't nearly as bright has having the main lights on. It's great for watching TV.
- Brendan Maltese
Line Art – Styrofoam Ceiling Tile – 20″x20″ – #R 24
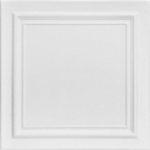
| Application | : | Ceilings | |
| Category | : | Living and Dining | |
| Size | : |
|
|
| Material | : | Styrofoam | |
| Color | : |
|
|
| Installation Method | : | ||
| Brand | : | A La Maison Ceilings |
April 3, 2019
Perceptions Glue-up Styrofoam Ceiling Tile 20″x20″ – #R103

| Application | : | Ceilings | |
| Category | : | Bathroom | |
| Size | : |
|
|
| Material | : | Styrofoam | |
| Color | : |
|
|
| Installation Method | : | ||
| Brand | : | A La Maison Ceilings |
April 3, 2019
Evergreen – Styrofoam Ceiling Tile – 20×20 – # R28c
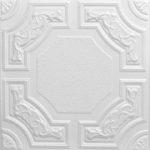
| Application | : | Ceilings | |
| Category | : | Kitchen | |
| Size | : |
|
|
| Material | : | Styrofoam | |
| Color | : |
|
|
| Installation Method | : | ||
| Brand | : | A La Maison Ceilings |
April 3, 2019
Evergreen – Styrofoam Ceiling Tile – 20×20 – # R28c

| Application | : | Ceilings | |
| Category | : | Bathroom | |
| Size | : |
|
|
| Material | : | Styrofoam | |
| Color | : |
|
|
| Installation Method | : | ||
| Brand | : | A La Maison Ceilings |
April 3, 2019


