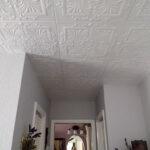
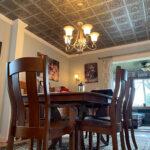
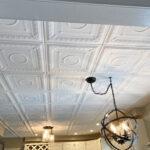
Romanesque Wreath Glue-up Styrofoam Ceiling Tile 20 in x 20 in – #R 47
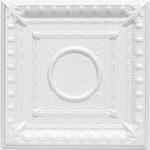
| Application | : | Ceilings | |
| Category | : | Retail Store | |
| Size | : |
|
|
| Material | : | Styrofoam | |
| Color | : |
|
|
| Installation Method | : |
January 3, 2022
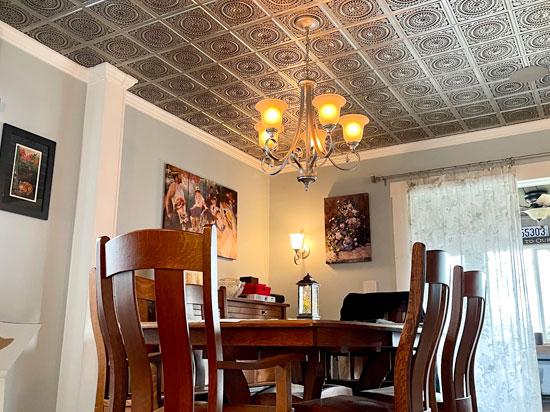
La Scala – Faux Tin Ceiling Tile – 24 in x 24 in – #223

| Application | : | Ceilings | |
| Category | : | Living and Dining | |
| Size | : |
|
|
| Material | : | PVC | |
| Color | : |
|
|
| Installation Method | : |
January 3, 2022
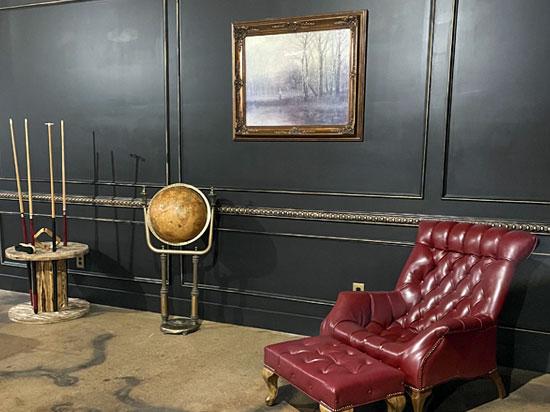
Caputo Egg & Dart – Urethane Panel Moulding – #PML03X00CA
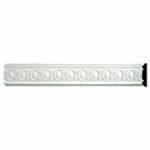
| Application | : | Crown Moldings | |
| Category | : | Basement / Man Cave | |
| Size | : |
|
|
| Material | : | Urethane | |
| Color | : |
|
|
| Installation Method | : |
January 3, 2022
Wrought Iron – Faux Tin Ceiling Tile – Glue up – 24 in x 24 in – #205

| Application | : | Ceilings | |
| Category | : | Living and Dining | |
| Size | : |
|
|
| Material | : | PVC | |
| Color | : |
|
|
| Installation Method | : |
January 3, 2022
DIY Foam Crown Molding – 4 in. Wide 8 ft. Long – #CC 453
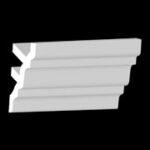
| Application | : | Crown Moldings | |
| Category | : | Bedroom | |
| Size | : |
|
|
| Material | : | Styrofoam | |
| Color | : |
|
|
| Installation Method | : |
December 3, 2021
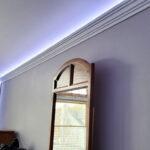
"Foam Molding was installed using Instant Grab water-based adhesive a few inches below the ceiling line. Painted the molding semi-gloss white. The reflective tape was then placed on the back of the molding. The strip lights were installed after the molding."
Tips: Measured around the room, pencil marks on the wall, to make it even. Needed 2 people to get it straight and hold it in place for a minute. Before installing, paint and stick reflective tape on styrofoam. After installation dries, stick-on strip lights. Hid the hole behind the styrofoam to finish wiring for lights. Work on the molding in the room you are going to install it in because it is fragile to be moving around.
- Patricia Boegelein
Victorian Glue-up Styrofoam Ceiling Tile 20 in x 20 in – #R14
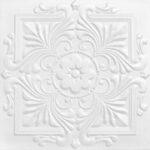
| Application | : | Ceilings | |
| Category | : | Bedroom | |
| Size | : |
|
|
| Material | : | PVC | |
| Color | : |
|
|
| Installation Method | : |
December 2, 2021
Milan – Faux Tin Ceiling Tile – 24 in x 24 in – #DCT 10

| Application | : | Ceilings | |
| Category | : | Living and Dining | |
| Size | : |
|
|
| Material | : | PVC | |
| Color | : |
|
|
| Installation Method | : |
December 2, 2021
Grandma’s Doilies Quartet Faux Tin Ceiling Tile Glue up 24 in x 24 in – #117
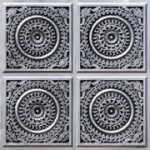
| Application | : | Ceilings | |
| Category | : | Living and Dining | |
| Size | : |
|
|
| Material | : | PVC | |
| Color | : |
|
|
| Installation Method | : |
December 2, 2021
"Complete makeover of a Dining Room. Installed ceiling speakers before installing ceiling panels."
Tips: I purposely started my first tile exactly where I was putting my light that would sit over the center of a new dining room table, then worked my way out from there. I made sure that I would not end up with very narrow tiles at the wall. Fortunately for me, when I measured it all out figuring in where the table would go, it worked out that it was basically uniform around the walls of the room. Take your time, measure twice and cut once. Makes it go a lot faster if you have someone applying the adhesive when installing the panels.
- Jeff Nickerson
La Scala – Faux Tin Ceiling Tile – 24 in x 24 in – #223

| Application | : | Ceilings | |
| Category | : | Kitchen | |
| Size | : |
|
|
| Material | : | PVC | |
| Color | : |
|
|
| Installation Method | : |
December 1, 2021
"We decided to build a bar room in our home with a 1960's - 1970's feel to it. The faux tin ceiling provided just the look that brought everything together. Anytime we have guests over, they always comment first on the beauty of the ceiling and are amazed they aren't real tin. it feels like we are really in the 60's!"
Tips: scissor/nipper cutting is easier than razor blade, especially where the tiles are at different depths.
- Jason rogers
Romanesque Wreath Glue-up Styrofoam Ceiling Tile 20 in x 20 in – #R 47

| Application | : | Ceilings | |
| Category | : | Kitchen | |
| Size | : |
|
|
| Material | : | Styrofoam | |
| Color | : |
|
|
| Installation Method | : |
December 1, 2021


