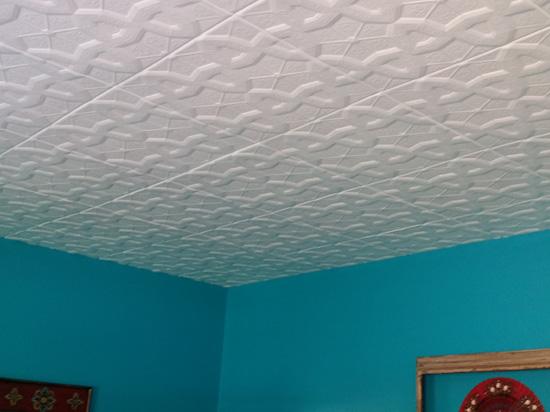
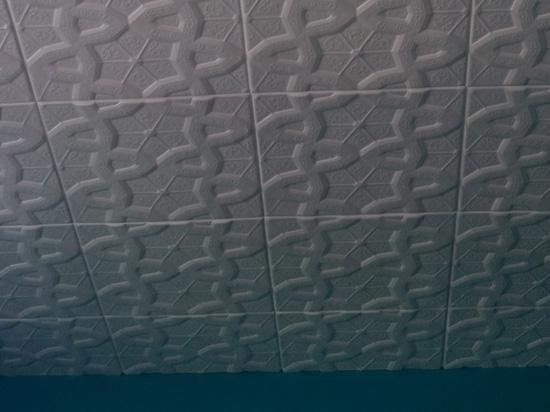
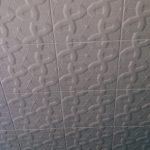
" The bedroom ceiling had been covered by spackle, and painted by the previous homeowner. The removal process left the ceiling damaged and in poor shape for finishing. It was going to take many coats of mud and sanding, plus too many days to complete. I opted to try installing the Styrofoam tiles because they looked expensive, custom, and easy to install."
Tips: It is better to leave a bit of a gap (similar to small tile grout spacers) between tiles for the caulk. If no space is left, the tiles sometimes will not make perfectly straight row lines due to slight manufacturing inconsistency of corners/edges. The tiles look normal when they're placed, but that small intentional gap will save trouble later. Also, for approx. 65 tiles I used 6 bottles of adhesive (down to the last drop), but only 1 bottle of caulk. I left the tiles unpainted, and they look great after installation.
- Kim Browers
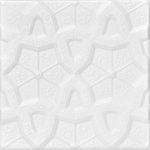
Styrofoam Ceiling Tile – 20″x20″ – #R179
| Application | : | Ceilings | |
| Category | : | Bedroom | |
| Size | : |
|
|
| Material | : | Styrofoam | |
| Color | : |
|


