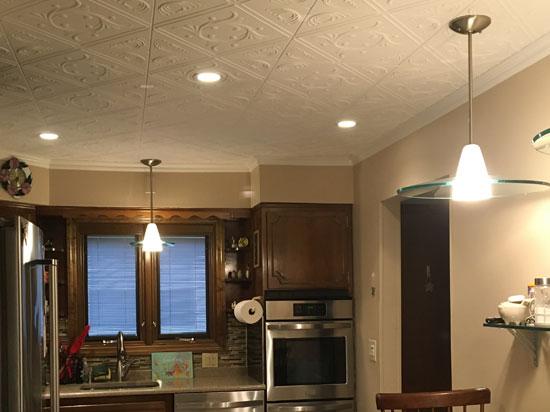
“The ceiling was the finishing touch to my newly renovated kitchen. Would definitely recommend to a friend. It is a relatively inexpensive way to make any room stand out. Easy to calculate. Easy to order. Quick delivery.“
Tips: Diamond Wreath #R02 along with Miguel KL-50 crown moulding extremely easy to install with the quick grab adhesive. The secret for a professional looking job is the initial measurements. Snap chalk lines across the ceiling from opposite corners. Where the chalk lines intersect is the precise center of the room. Now snap a chalk line through this center point across the width and length of the room. Now you are ready for your first four tiles. The rest is easy by making sure you place the tiles perfectly adjacent to these four tiles. I put the crown moulding on last and used crown moulding caulk between the crown moulding and the ceiling tiles for that finished, professional look. If you are painting, I used a flat white on the ceiling tiles before installing the crown moulding. I painted the crown moulding a gloss white prior to installation. This ceiling job really gave my newly renovated kitchen a classy, finished look.
– Joseph Asciutto
Diamond Wreath Glue-up Styrofoam Ceiling Tile 20 in x 20 in – #R02

| Application | : | Ceilings | |
| Category | : | Kitchen | |
| Size | : |
|
|
| Material | : | Styrofoam | |
| Color | : |
|


