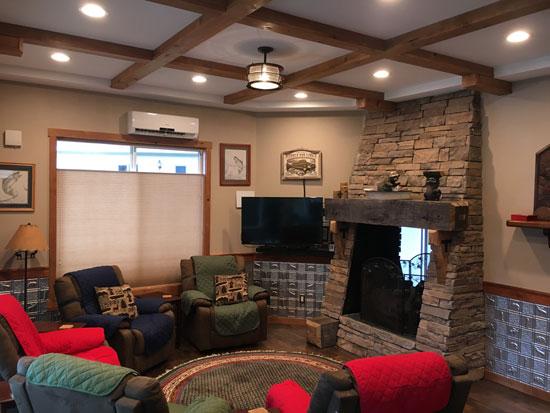
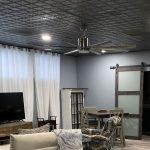
Gwen’s Cabin – Aluminum Backsplash Tile – #0512
| Application | : | Wainscot | |
| Category | : | Living and Dining | |
| Size | : |
|
|
| Material | : | PVC | |
| Color | : |
|
|
| Installation Method | : |
May 11, 2020
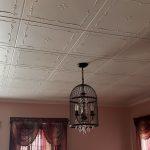
Spring Buds Glue-up Styrofoam Ceiling Tile 20 in x 20 in – #R 05

| Application | : | Ceilings | |
| Category | : | Living and Dining | |
| Size | : |
|
|
| Material | : | Styrofoam | |
| Color | : |
|
|
| Installation Method | : | ||
| Brand | : | A La Maison Ceilings |
May 11, 2020
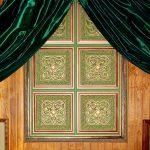
Lover’s Knot – Faux Tin Ceiling Tile – Glue up – 24 in x 24 in – #231

| Application | : | Walls | ||
| Category | : | Artwork | ||
| Size | : |
|
||
| Material | : | PVC | ||
| Color | : |
|
||
| Installation Method | : | |||
| Brand | : | Decoraids |
May 11, 2020
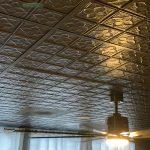
Clover – Powder Coated – Tin Ceiling Tile by Shanko – #203
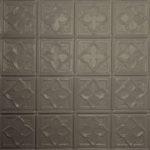
| Application | : | Ceilings | ||
| Category | : | Living and Dining | ||
| Size | : |
|
||
| Material | : | Tin Plated Steel | ||
| Color | : |
|
||
| Installation Method | : |
May 11, 2020
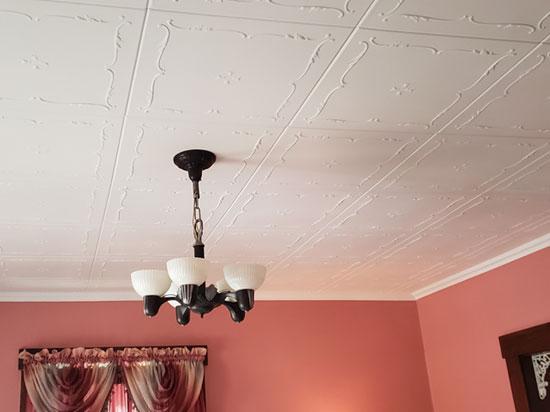
Tiny Tulips – Faux Tin Ceiling Tile – Glue up – 24 in x 24 in – #148
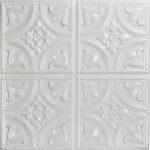
| Application | : | Ceilings | |
| Category | : | Living and Dining | |
| Size | : |
|
|
| Material | : | PVC | |
| Color | : |
|
|
| Installation Method | : | ||
| Brand | : | Decorative Ceiling Tiles |
May 11, 2020
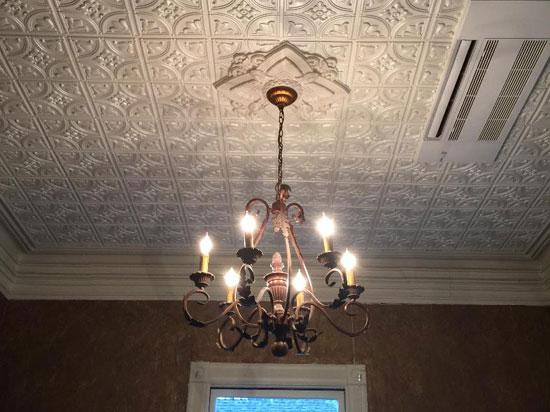
"Purchased a 1910 victorian and wanted to add some flair to the ceiling of the parlor so added these faux tin glue up tiles. Good customer service. I emailed the company a few times and always got a response but I will say that when the tiles arrived (in two boxes), one box did not have plastic wrap around the tiles and 8 of the tiles were bent on the edge. Luckily I was able to use those as border tiles and cut off the side that without the bent edge."
Tips: Even with the overage of tiles added, we ended up with NO extra tiles, so I would recommend being smart and accurately measuring the size of the border tiles needed before cutting them.
- Mats Jansson
Elizabethan Shield Faux Tin Ceiling Tile 24 in x 24 in – #DCT 04
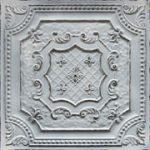
| Application | : | Ceilings | |
| Category | : | Kitchen | |
| Size | : |
|
|
| Material | : | PVC | |
| Color | : |
|
|
| Installation Method | : | ||
| Brand | : | Decoraids |
May 11, 2020
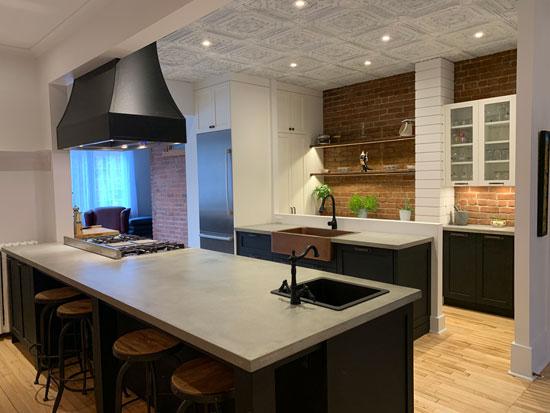
" Complete renovation of a 50 years old kitchen in a 100 years old house. This is why we chose the old Victorian look for the ceiling. They look like real old metal prices for a reasonable price! Super! Great service and product is as expected! People who visits think the ceiling tiles are authentic and in metal so it's a really great product!"
- Patrick St-Onge
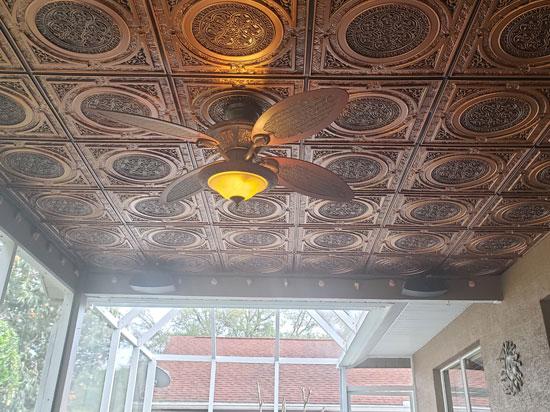
Steampunk – Faux Tin Ceiling Tile – 24 in x 24 in – #225

| Application | : | Ceilings | |
| Category | : | Patio | |
| Size | : |
|
|
| Material | : | PVC | |
| Color | : |
|
|
| Installation Method | : | ||
| Brand | : | Decoraids |
May 11, 2020
"We used the steampunk tiles to create this amazing look to our lanai. We absolutely love it. We are very pleased with the final look and would recommend it to others. Because of the high humidity in Florida we were always having issues with the ceiling cracking. That will never happen again. Looking forward to years of a maintenance free ceiling. We absolutely love it. We are very pleased with the final look and would recommend it to others."
- Cheryl Crisp
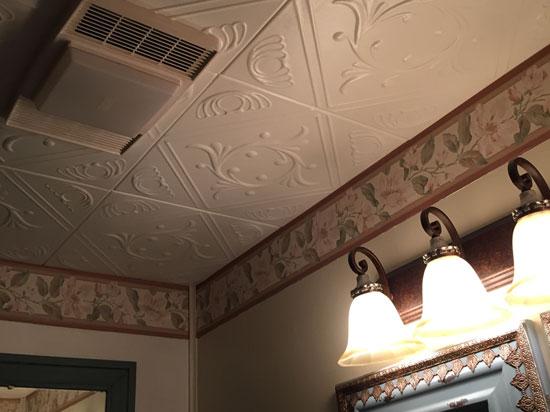
Diamond Wreath Glue-up Styrofoam Ceiling Tile 20 in x 20 in – #R02
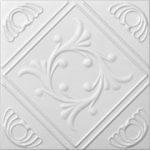
| Application | : | Ceilings | |
| Category | : | Bathroom | |
| Size | : |
|
|
| Material | : | Styrofoam | |
| Color | : |
|
|
| Installation Method | : | ||
| Brand | : | A La Maison Ceilings |
May 11, 2020
"This project was installed on a 9ft. high ceiling of a Victorian Bathroom. The ceiling needed to be tied in with the victorian theme for my Victorian Home used for weekend lodging. I first painted the bare white ceiling tiles with a latex satin paint (Marshmellow White) after drying time, I began in the far right corner of the room, and placed the tiles as instructed with the recommended glue purchased for the project. The install was easy to cut pieces, fit together at seams and easy to match with hardly any waste at all. This product was very easy to work with and is of outstanding quality. Clients have commented how beautiful the ceiling looks and blends well with the decor in the victorian bath/spa. I have recommended the project to many of my friends with victorian homes, as this product is a great way to keep the character of the home alive. Great experience, as I loved the way the product arrived neatly boxed and there were no flaws, breaks or damage of any kind."
Tips: Follow the instructions and all will go well.
- Sharon McDuffey
Glue-up Styrofoam Crown Molding 5″ Wide 6.5 ln. ft. Long – #GK 19
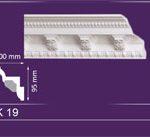
| Application | : | Crown Moldings | |
| Category | : | Living and Dining | |
| Size | : |
|
|
| Material | : | Styrofoam | |
| Color | : |
|
|
| Installation Method | : | ||
| Brand | : | A La Maison Ceilings |
May 9, 2020
"Remodeling of the ceiling in the guest room. Very easy to install and do not need any maintenance and you can change the color using any type of paint or even gold leaf of the color that you like the most. I love their products, they have a lot of variety and the prices are too affordable"
Tips : Very easy to install and you can do it yourself
- Jose A Rojas
Topkapi Palace Glue-up Styrofoam Ceiling Tile 20 in x 20 in – #R32c
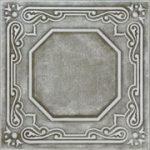
| Application | : | Ceilings | |
| Category | : | Living and Dining | |
| Size | : |
|
|
| Material | : | Styrofoam | |
| Color | : |
|
|
| Installation Method | : |
May 9, 2020
"Our home is over 130 years old. The previous ceiling was an acoustic tile, stapled to some 1x2 wood runners. We removed the tile and mounted 3/16" sheets of plywood for a smooth surface to glue the foam tiles. Starting at the chandeliers, we centered the tile on the mounting of chandelier, while squaring it with the walls as best as possible. We then worked outward from that tile and it all went up really easy. Cutting a tile was a breeze with a utility knife and straight edge. We also utilized the DIY crown molding #CC 355. We followed the instructions on the website and it also went up very quickly. I love how lightweight they are. Painting was simple, as was cutting them. The fact that a basic miter saw can cut this crown without the mental gymnastics of complex angles was worth every penny. It was incredibly easy to install. The hardest part was installing the wood for our application. The second most difficult part was centering the starting tile and squaring it against walls that aren't square. Once those steps are done, installation is a breeze. These aren't the cheapest options, but realizing how easy it was to install and the overall visual impact it has on the room (coupled with the extreme variety of options for styles, colors, and sizes) we'd definitely recommend this option to friends. Our experience was great. No issues. I wish it was easier to get samples of the variety and colors you actually want rather than the samples available, but I understand the logistics might prove that economically non-feasible. "
Tips : I recommend you paint your ceiling with a similar color as your tiles. We did not do this. Our tiles are a dark gray and the plywood we mounted was a reddish brown. There are places where the tiles don't exactly meet up and you can see the wood through it if you're looking straight on. This doesn't bother us too much because you need to be looking for it, and the casual observer wouldn't notice. Just a super quick paint job would be sufficient. To cut a tile, we used a crafting cutting mat and a straight edge with a new utility knife. It was incredibly easy to cut whatever shape your room needed.
- Rodney Keim


